CPT & Indoor Cycling Instructor
Peloton has set the standard for interactive indoor cycling for many years, but they aren’t cheap. The $2500 price tag for the
Here at Girl
- Do You Want A DIY Peloton? Explaining The Differences
- What Will You Need To Make A DIY Peloton?
- How To Make A DIY Peloton
Do You Want A DIY Peloton? Explaining The Differences
Before we get into showing you how to make a DIY Peloton, it’s vital to understand that they are very different compared to a real Peloton. The experience is very different, and it’s important to understand what you’re getting.
DIY Peloton
A DIY Peloton is a general spinning
“Real” Peloton
A real Peloton will be very different from a DIY Peloton. You will get a
If you are lucky enough to have the
Check out my video!
Should You Make A DIY Peloton?
In my personal opinion, as an indoor cycling instructor, I think the best route to go down is to start with a basic
What Will You Need To Make A DIY Peloton?
You will need a few parts to make a DIY Peloton that will give you a good experience. Here’s what we recommend and what they cost:
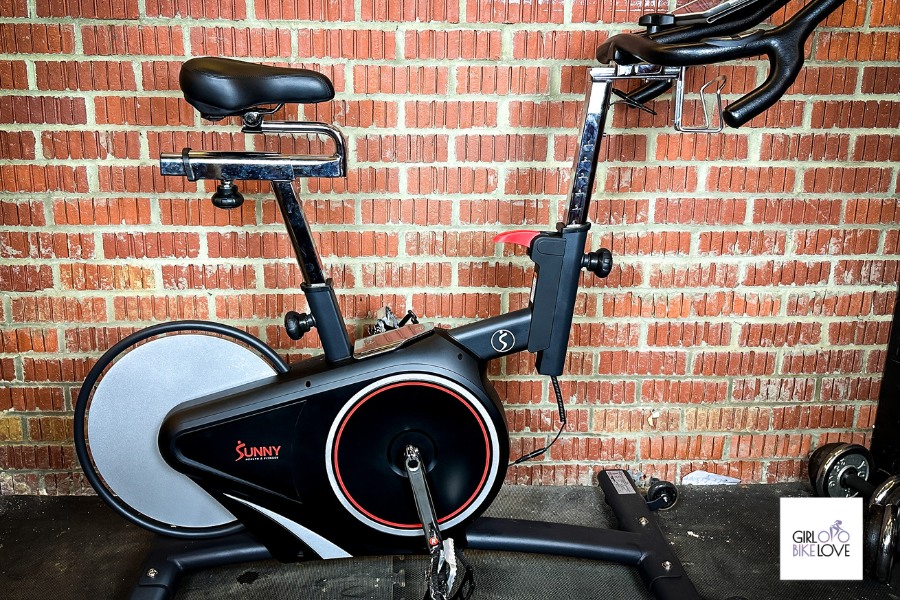
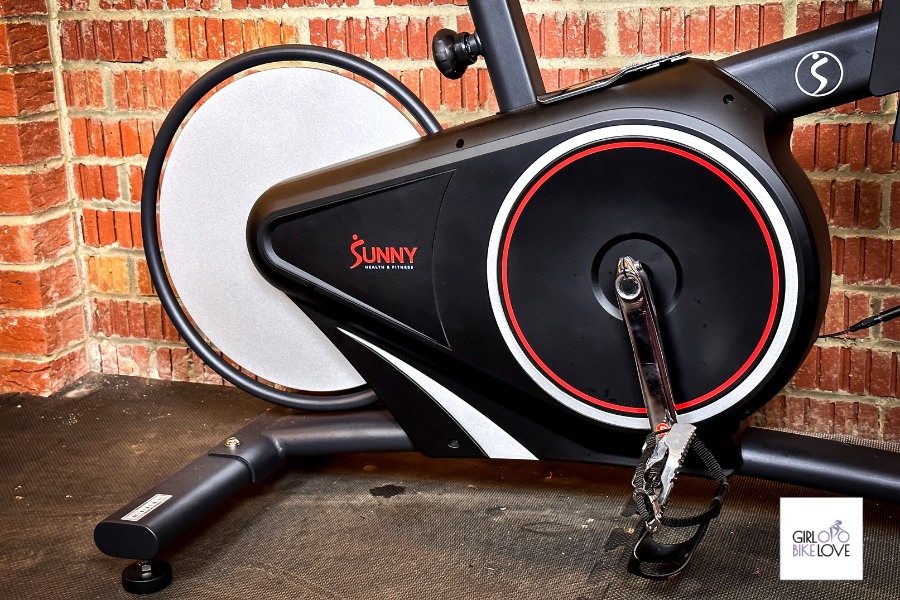
Spinning Bike (Required) – Cost: $400
The
Not only does it look great, but it offers such a lovely ride, and the experience it gives is very personal and does feel like a spin bike, not a cheap exercise bike.
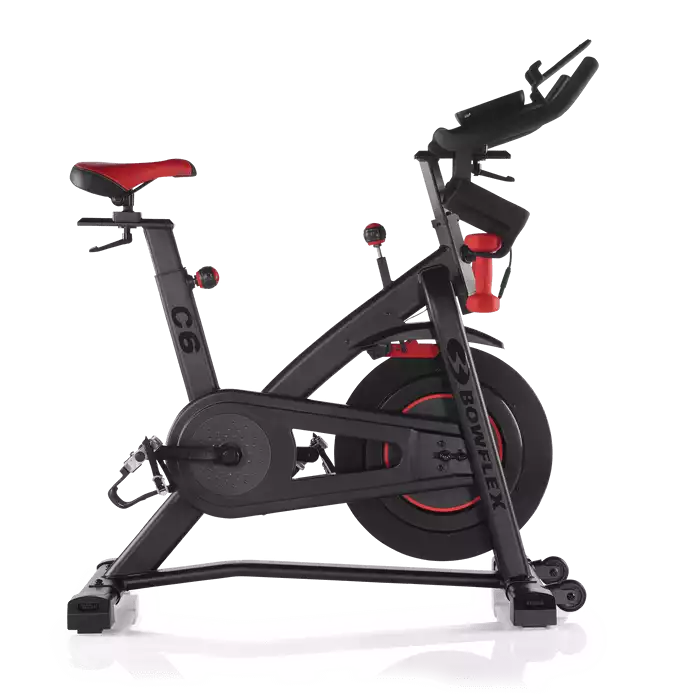
An excellent alternative option to Peloton or other streaming bikes. A quiet magnetic resistance bike, proficient enough to link with the many available streaming devices such as Peloton® and Zwift®.
Smart Device (Required) – Cost: $130
Next, you are going to need a smart device. A general tablet would be fine. You could invest in Apple TV or even use your smartphone. For the best experience, I recommend a tablet. It’s nice to have it in front of you, and lots of bikes, such as the Bowflex C6, are set up for it already.
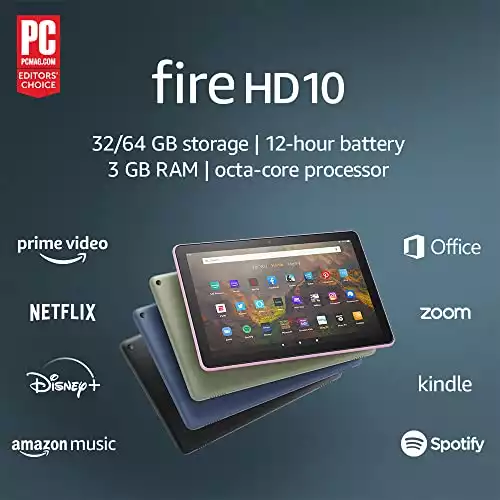
Vivid Full HD with more than 2 million pixels, immersive Dolby Atmos, and a 10% brighter display make movies, TV episodes, games, apps, ebooks, and songs look and sound amazing.
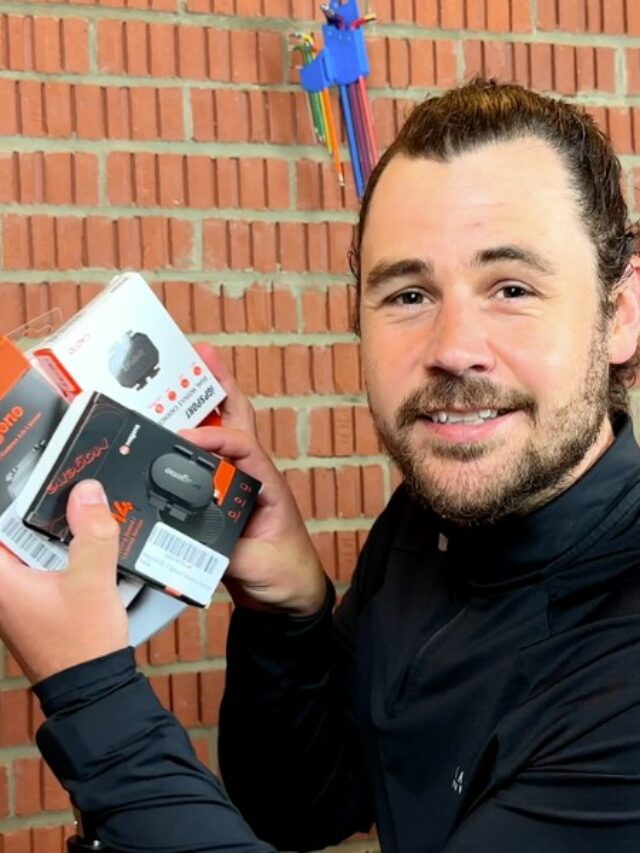
Cadence Sensor (Optional) – Cost: $20
A cadence sensor is what is used to measure RPM (Revolutions Per Minute). This is how fast your legs move and how quickly they complete a pedal stroke. This isn’t required, but it can be connected and offers a better experience. Try to use a Bluetooth model if possible.
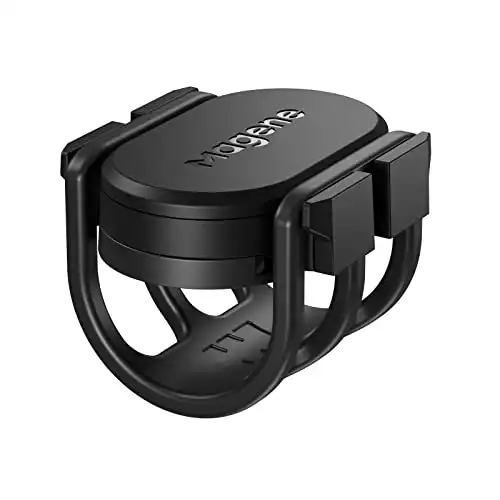
The third-generation product: the appearance has been fully upgraded, and it is more compact and refined. The weight is reduced by 12%, the volume is reduced by 10%. Lighter in weight, smaller in volume, and thinner overall, better compatible with frame and disc brake hubs.
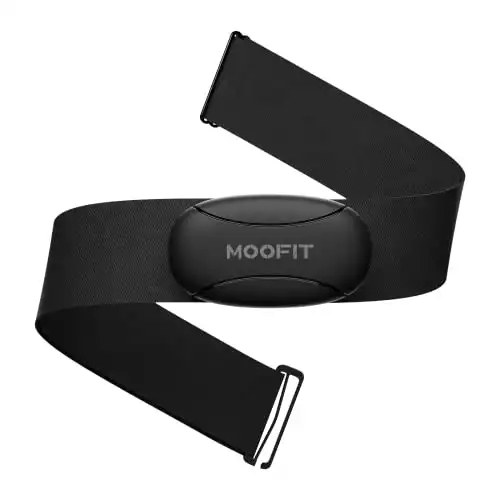
Heart Rate Monitor (Optional)- Cost: $21
A heart rate monitor is a sensor that tells you your heart rate. They come in many forms, such as chest straps, arm bands, and watches. Again this is optional, but it improves the experience and can heavily improve your
How Much Is A DIY Peloton?
Now if you didn’t like the idea of a DIY, you probably will once you hear the amount it costs. The total of all the parts put together comes in at $571, which is very cheap, and it means you can use other applications as well, as you’re not tied into Peloton.
DIY Peloton
- Parts Cost: $571
- Annual Subscription: $156
Then we come to the original Peloton, which doesn’t just slightly differ in price. It’s much more. We have to say, though, by using the proper Peloton, you do get a better experience and are a bigger part of the community. In this example, we use the cheaper original
“Real” Peloton
- Parts Cost: $1445
- Annual Cost: $528
So the first year of spinning, you will find yourself spending $727 on a DIY Peloton and $1973 on a real Peloton. This is why we recommend using the DIY Peloton first to see if you like the indoor cycling experience.
How To Make A DIY Peloton
Now for the exciting part, let’s run through our step-by-step guide on making your own DIY Peloton. Let’s go!
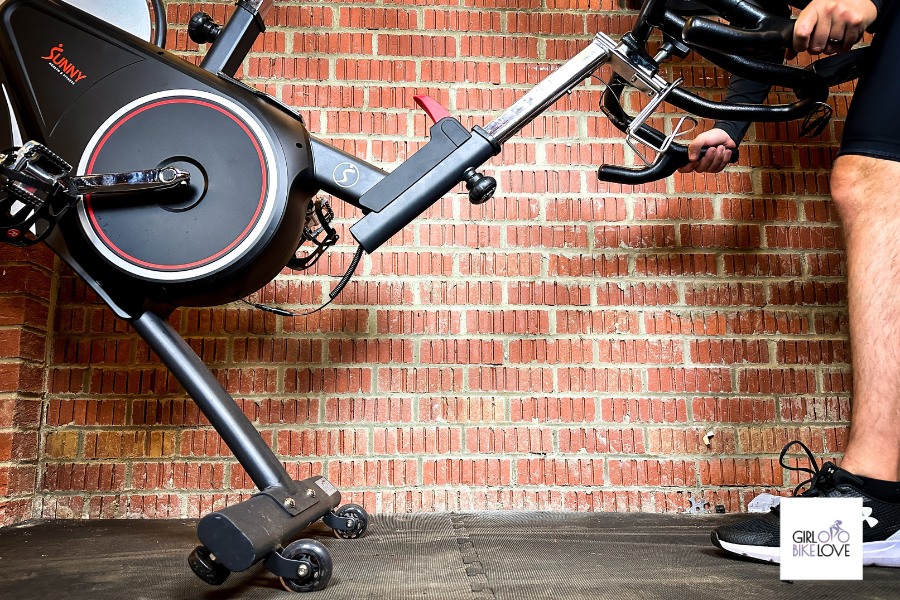
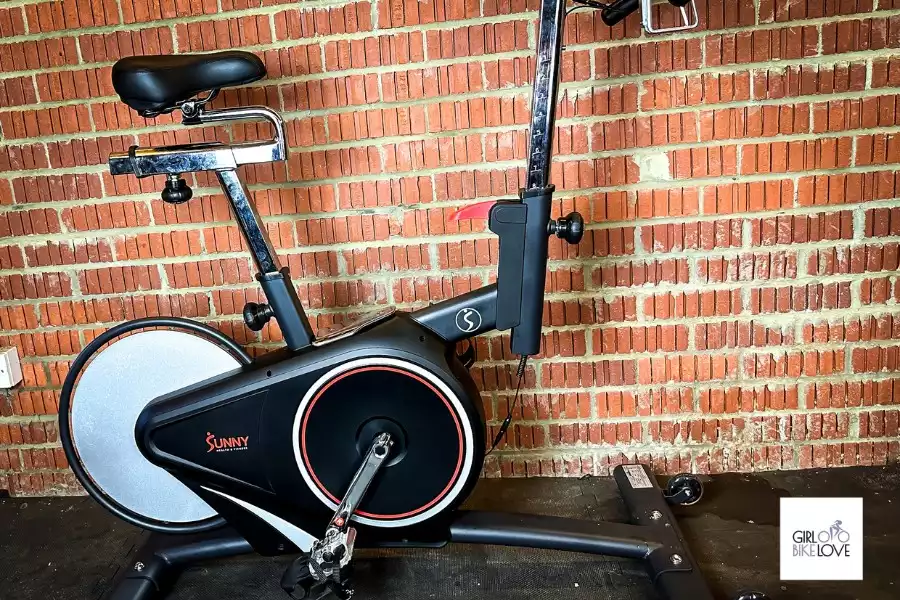
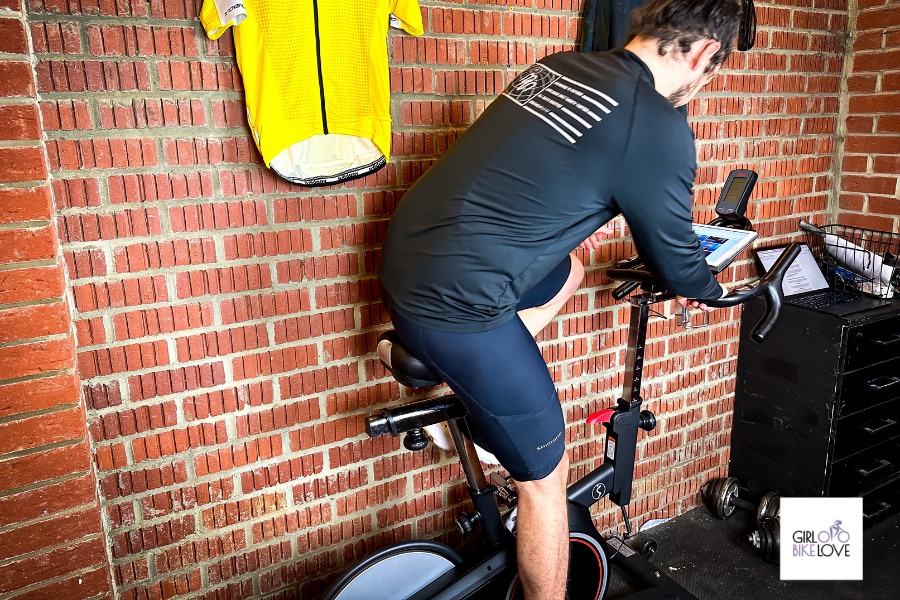
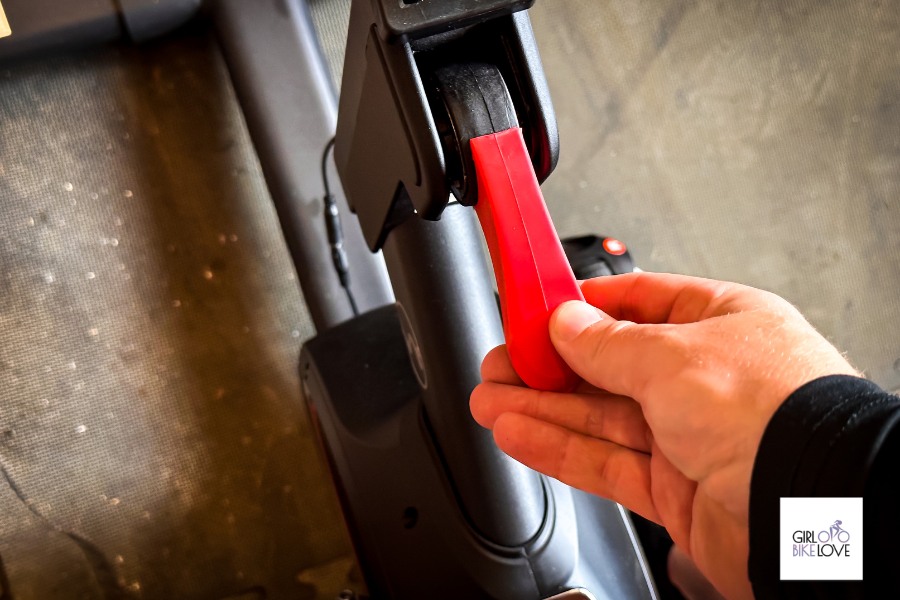
Step One: Get A Spin Bike Set Up
The first step is to get the spin
It’s also now a good time to set the bike up correctly for you. You will want to adjust the saddle height and reach to fit your body. Here’s a video on a basic spin bike fit to help you get to where you need to be.
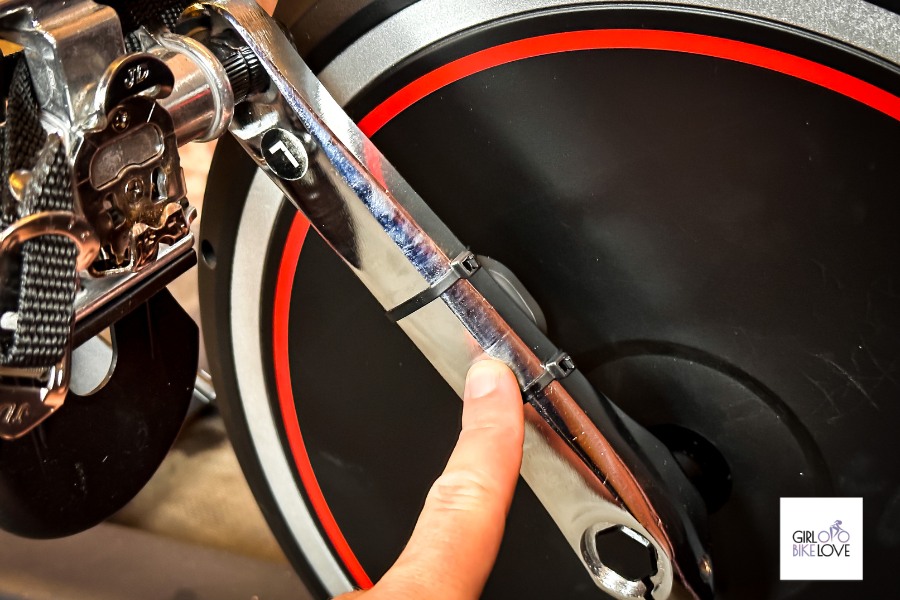
Step Two: Add The Sensors
Now you are going to need to add the sensors, starting with the cadence sensor. This will need to be attached to the crank arm, and putting it on the rear is the best place. We have an excellent how-to guide with a video here at Crank Arm Installation.
Then if you have a heart rate monitor, it’s a good idea to start wearing it now. The best monitor we find is a chest strap. It’s the most comfortable and, in our opinion, the most accurate.
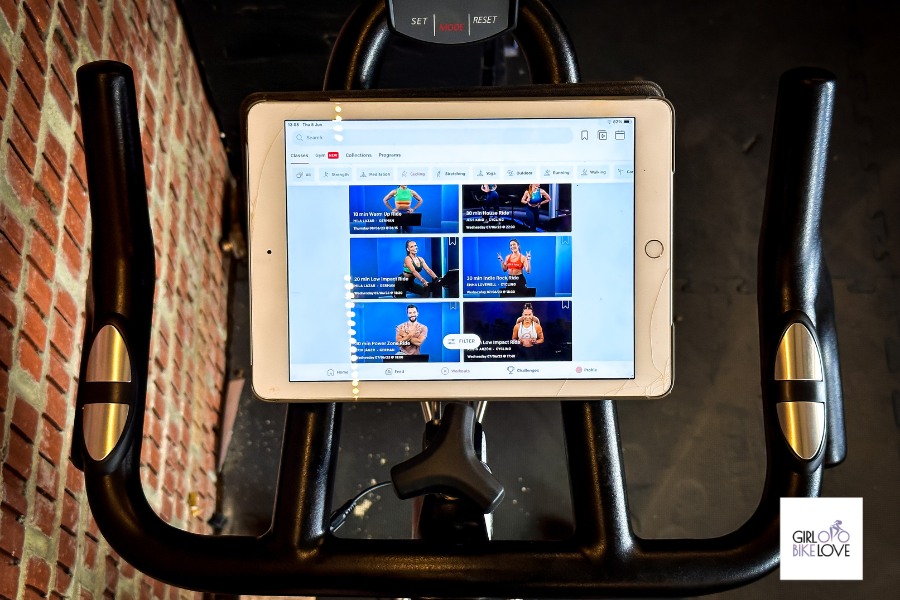
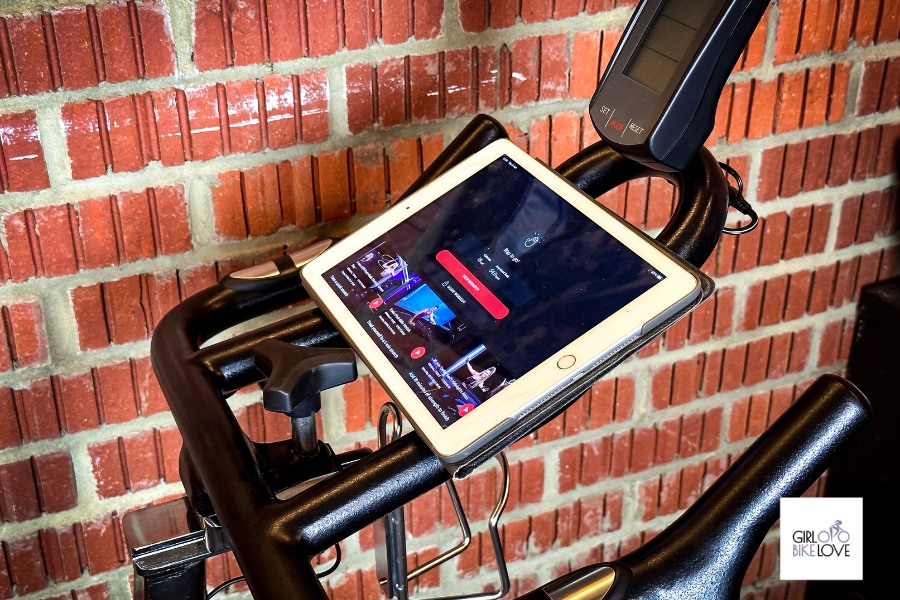
Step Three: Add The Tablet
Now it’s time to add the tablet. Many spin bikes will come with a tablet holder as standard, but there are many options if you require a tablet holder, such as this Amazon tablet holder. You will now also need to download the Peloton application.
Step Four: Connect The Sensors
To connect the sensors, you first need to load up the Peloton application. When you start, it will give you the option to connect sensors; Here, you will click yes. Connect both the heart rate monitor and the cadence sensors.
Step Five: Test
Finally, the last thing you need to do is pick a workout and get testing. We recommend a light workout where you can work at high and low cadences and lots of sitting and standing. Providing all is well, then you have successfully made yourself a DIY Peloton setup!
A Final Note
Having a DIY Peloton is a great way to enjoy the indoor cycling experience without having to spend a small fortune. We highly recommend that if you are considering a Peloton, try a DIY version first. Thanks for taking the time to read our article, and we look forward to hearing your thoughts.