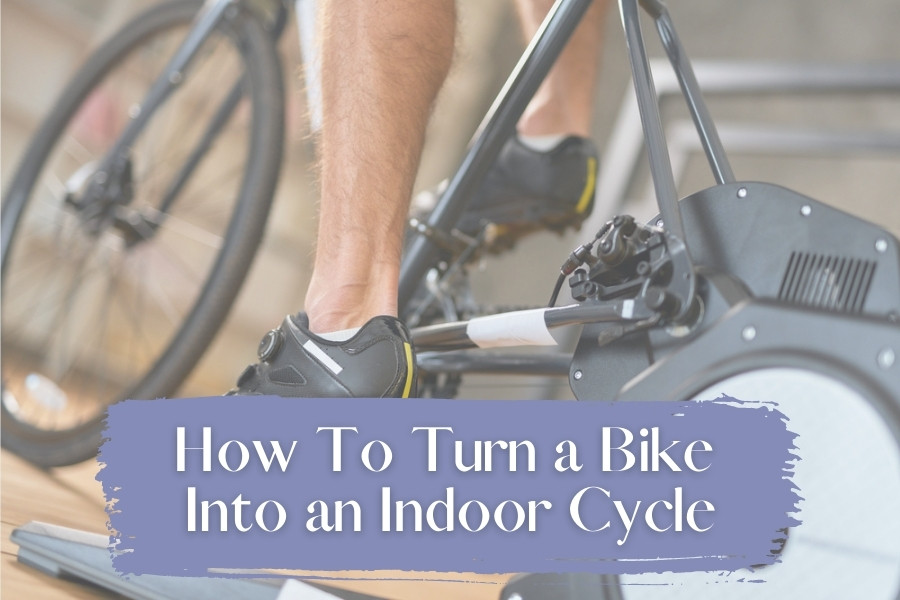
Intro
Ok, let’s get the first and most obvious piece of information out of the way; I absolutely live for cycling; I always have and always will; just ask my wife and daughter.
Rain, sun, cold, hot, wind, or snow, none of them stop me from jumping on the
In recent years indoor trainers and cycling technology have increased in leaps and bounds; apps like Zwift and Strava and indoor training brands like Wahoo have quite literally revolutionized cycling and, in particular, indoor cycling.
But how do you actually go about setting up an indoor trainer? What do you need? Well, that’s why I’m writing this article. When I first started riding indoors, I had no idea what I needed. How much would it cost? Did I need wifi? What about BlueTooth? Did I need a dedicated
So if you’re thinking about setting up your
Let’s get started!
What to consider before getting started
Before bringing your
Where are you going to put your bike ?
The first thing to consider is where you plan on putting your
Noise and vibration
If this is your first time using a
It’s not just the noise you have to worry about; its also the vibration. A vibrating trainer won’t be a problem if you live in your own house or have your own training room, but what about if you live in an apartment? The people living below you arent going to be too happy when their dinner plates are vibrating all over the dining table.
Protecting your floors
I recommend using a yoga mat which will help to dampen the sound and particularly the vibration. A yoga mat will also protect your flooring from getting scuffed up and make it much easier to wipe up your sweat after a tough workout. Actually, we have an excellent, detailed guide along with a video on how to make your bike trainer quieter; we suggest you take a look!
Heat and cooling
If you don’t have air conditioning, then you’ll need a good quality fan and a well-vented room; its best to place your trainer as close to a window as possible to help with ventilation. Make sure you keep a bunch of “training specific towels” in your training room to help clean up the sweat. Youll also need these towels to drape over your
Setting up your indoor trainer
So you’ve made the decision to transform your road
Bike trainers
The first thing you’re going to need is an indoor
There are two different types of trainers: wheel on and wheel off (or direct drive trainers as they are called).
A wheel on trainer is what I have and means the back tire sits on an aluminum flywheel, while a wheel off trainer means your drivetrain connects directly to the trainer. Wheel-off trainers is the better option because they save your tire and provide a much more accurate power and metric reading.
The big downside to these trainers is the price, and to be honest, having used both, I like my wheel on trainer and find it has a much more realistic dring feel. I would recommend using a cheap rear tire wheel using the trainer; this will save you plenty of money in the long run.
Securing the bike to the trainer
Most trainers are very easy to set up and come with clear and straightforward instructions. If you have a “wheel-on trainer,” then you’ll need to clamp the
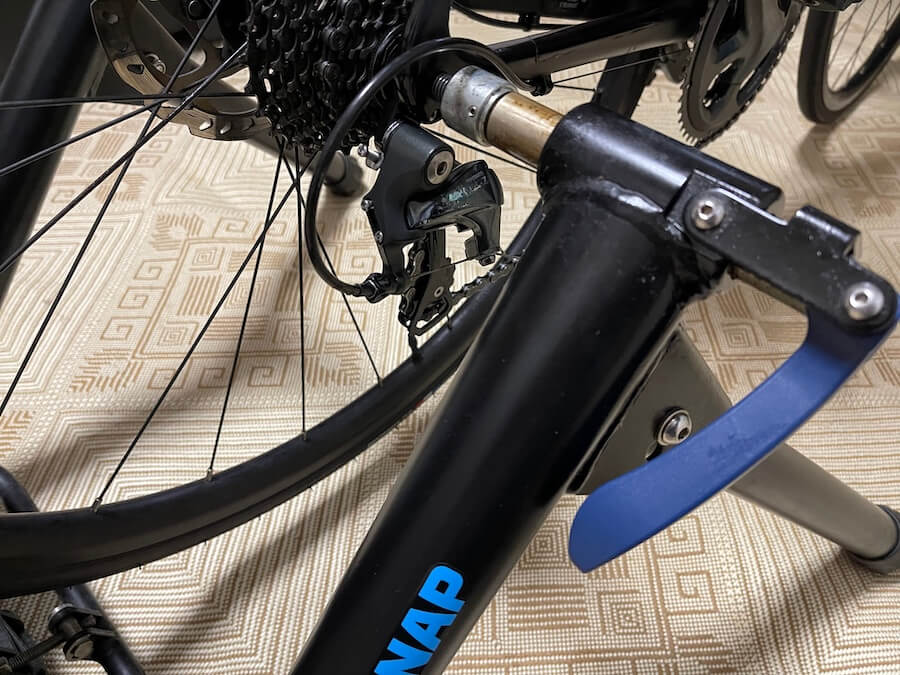
The front wheel does not need to be clamped to the machine; however, you’ll notice that because the back wheel is slightly raised as it sits on the trainer, your front wheel is lower. You will need to “prop” the front wheel up, so your
Related: How to Track Distance on an Indoor Bike Trainer
Indoor cycling apps
Cycling apps will be necessary to control your smart trainer and provide you with critical ride data such as distance, time, calories burned, power, and cadence.
We won’t go into the pros and cons of every single app out there because it would just take too long. Zwift, Strava, and Peloton are three of the most popular, with Zwift undoubtedly being the most prevalent. Zwift offers a very interactive training experience and is super affordable at $14.99 per month.

I live in a very cold and snowy climate for four months of the year, and I can tell you that without Zwift, I would’ve gone crazy not being able to ride my
Benefits of cycling indoors
When you start training indoors, you’ll be amazed at how many benefits it has that you’ve probably never considered before.
You can ride all year
Now I must admit I love riding outside much more than inside, but the fact I can keep riding all year round is the most significant advantage of the indoor trainer. It doesn’t matter what the weather is outside; the trainer is a lifesaver. Too hot or too cold, raining or snowing, the indoor
Fitness and fat loss
Cycling inside means you can cycle 365 days of the year if you choose, and it’s that consistency that helps keep the fat off and keeps you in peak condition even during the snowy season.
The indoor trainer simulates going uphill and all different types of terrain, so the workouts are just as challenging as outside, maybe more so because on the indoor trainer, you can’t get off; once you start a race or training program, you’re committed to finishing.
Maintenance and convenience
Maintaining your indoor
Related: How to maintain your indoor bike trainer.
However, one thing to watch for is your sweat dripping onto expensive components like the drivetrain; this is easily negated by draping some large towels over the top tube while working out. Be sure to clean and maintain your chain, too, especially if your plan riding inside for a couple of months.